How Can We Help?
1. Go to “Dashboard

You can see “Dashboard” in the top right corner of any page. This is the dashboard where you manage your album proofs.
2. Click “Create New Proof”
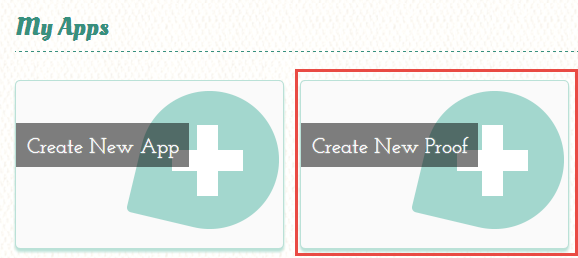
This will start the 3 step process to complete a new album proof. If you choose the other option “Create App” then you can create an app for a mobile device. This part is not covered in this quickguide.
3. There are three parts that must be filled in:
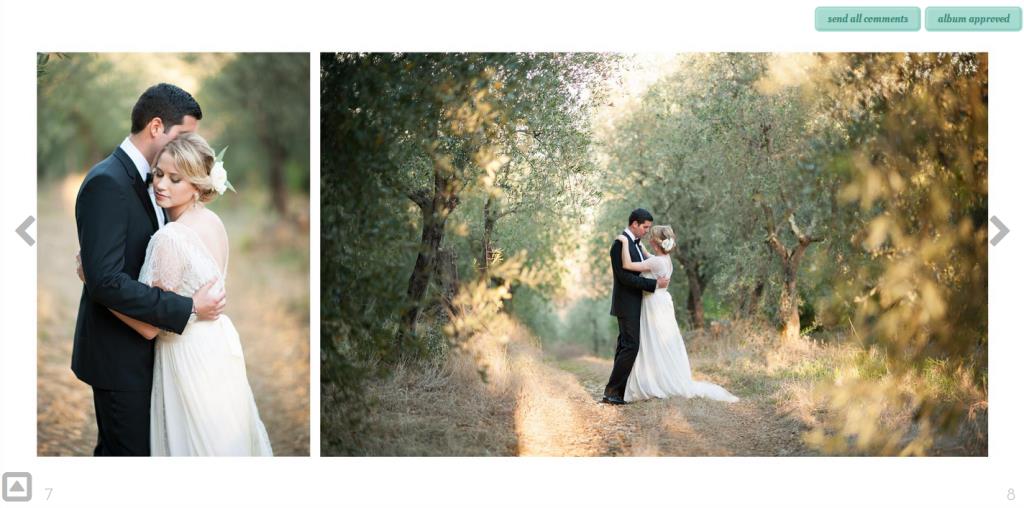
a) Spreads: You upload your album spreads that you would like your client to review.
b) Gallery: You upload or link your photo gallery.
c) Branding: Set your branding preferences.
4. Spreads: upload your album spreads
In short there are three things you need to set: name, password (optional) and upload your albumspreads
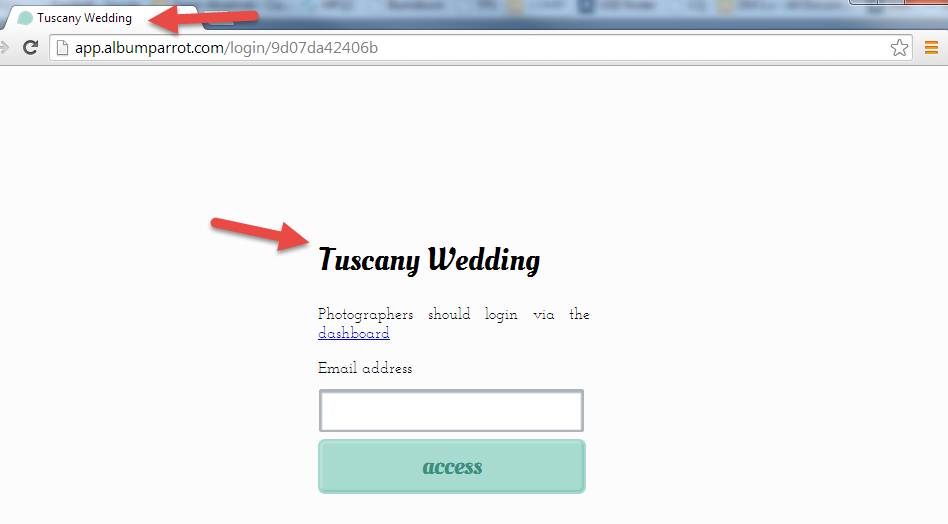
When you share the link to your proof then your client will always arrive to a “welcome” page where they must enter their email and password (if you set one). Here they will see the name that you set. The name will also appear in the browser’s tab.
The welcome page the client will see looks like this:
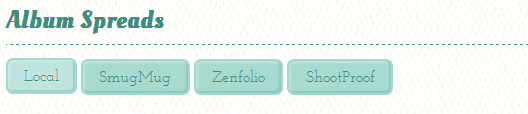
Final step in this section is to upload your spreads. You can upload it from your local machine or if you have an account with any of the online gallery providers – then you can directly download from there.
After the upload the images will appear under the icons and you can re-order the spreads by drag ‘n’ drop.
5. Gallery: Link your gallery
Under your spreads the client can see their wedding gallery which they can use to drag and drop photos to create “conversation windows” and make references to their changes. In this section you simply upload the photos you want the user to see under all the spreads. You can upload it from your local machine or if you have an account with any of the online gallery providers – then you can link your gallery and albumparrot will download the photos.
6. Branding: Set your branding preferences.
The colors you set are relevant to the album proof that your client will see.